🔐 Get Your API Key
You can provision an API key and API secret yourself from the Scenario web application:
- Go to your workspace or Create a new one.
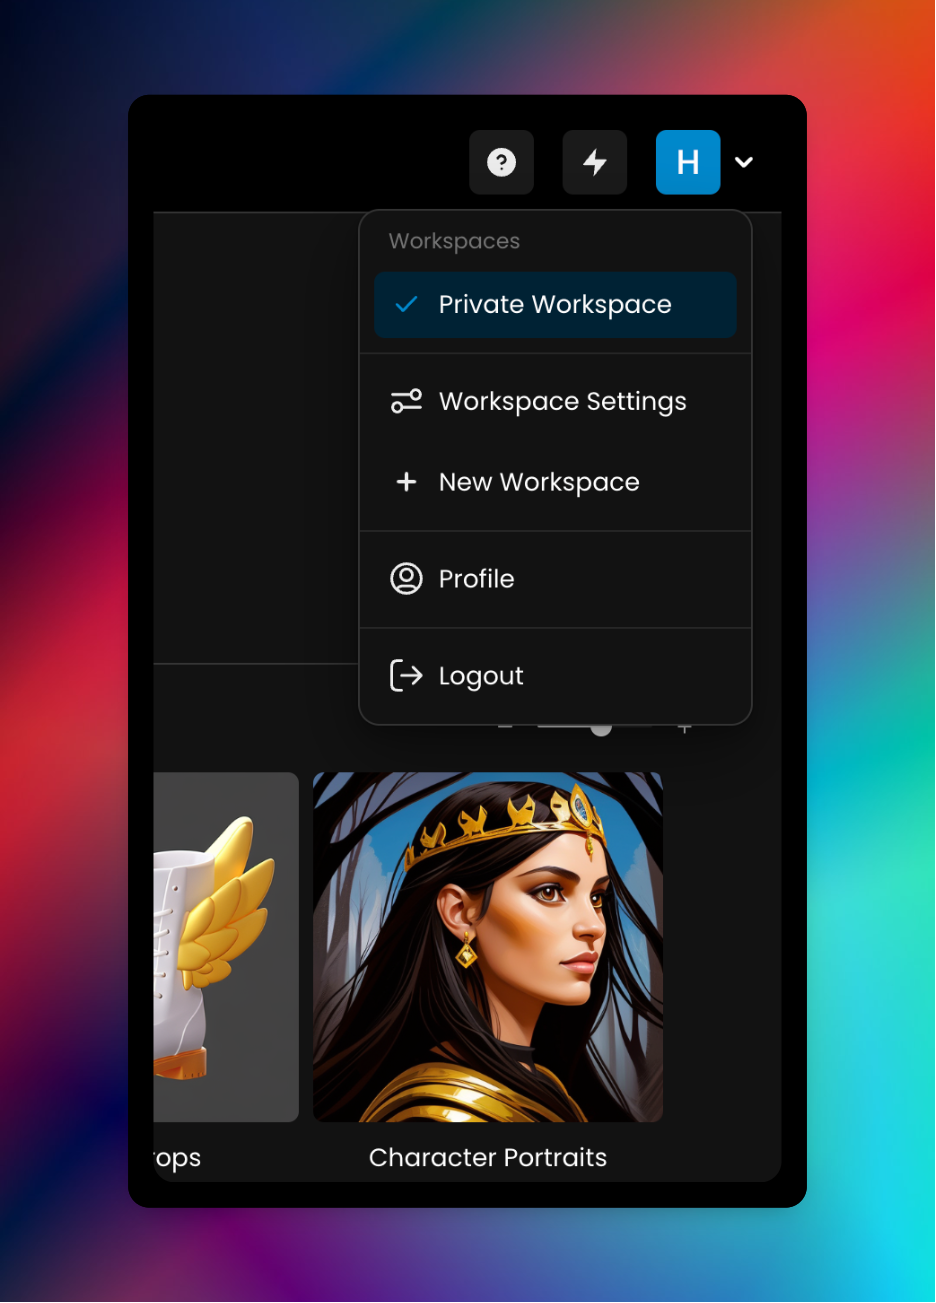
"New Workspace"
- If necessary, complete the workspace form
- Go to "Workspace Settings"
- "Add API Key"
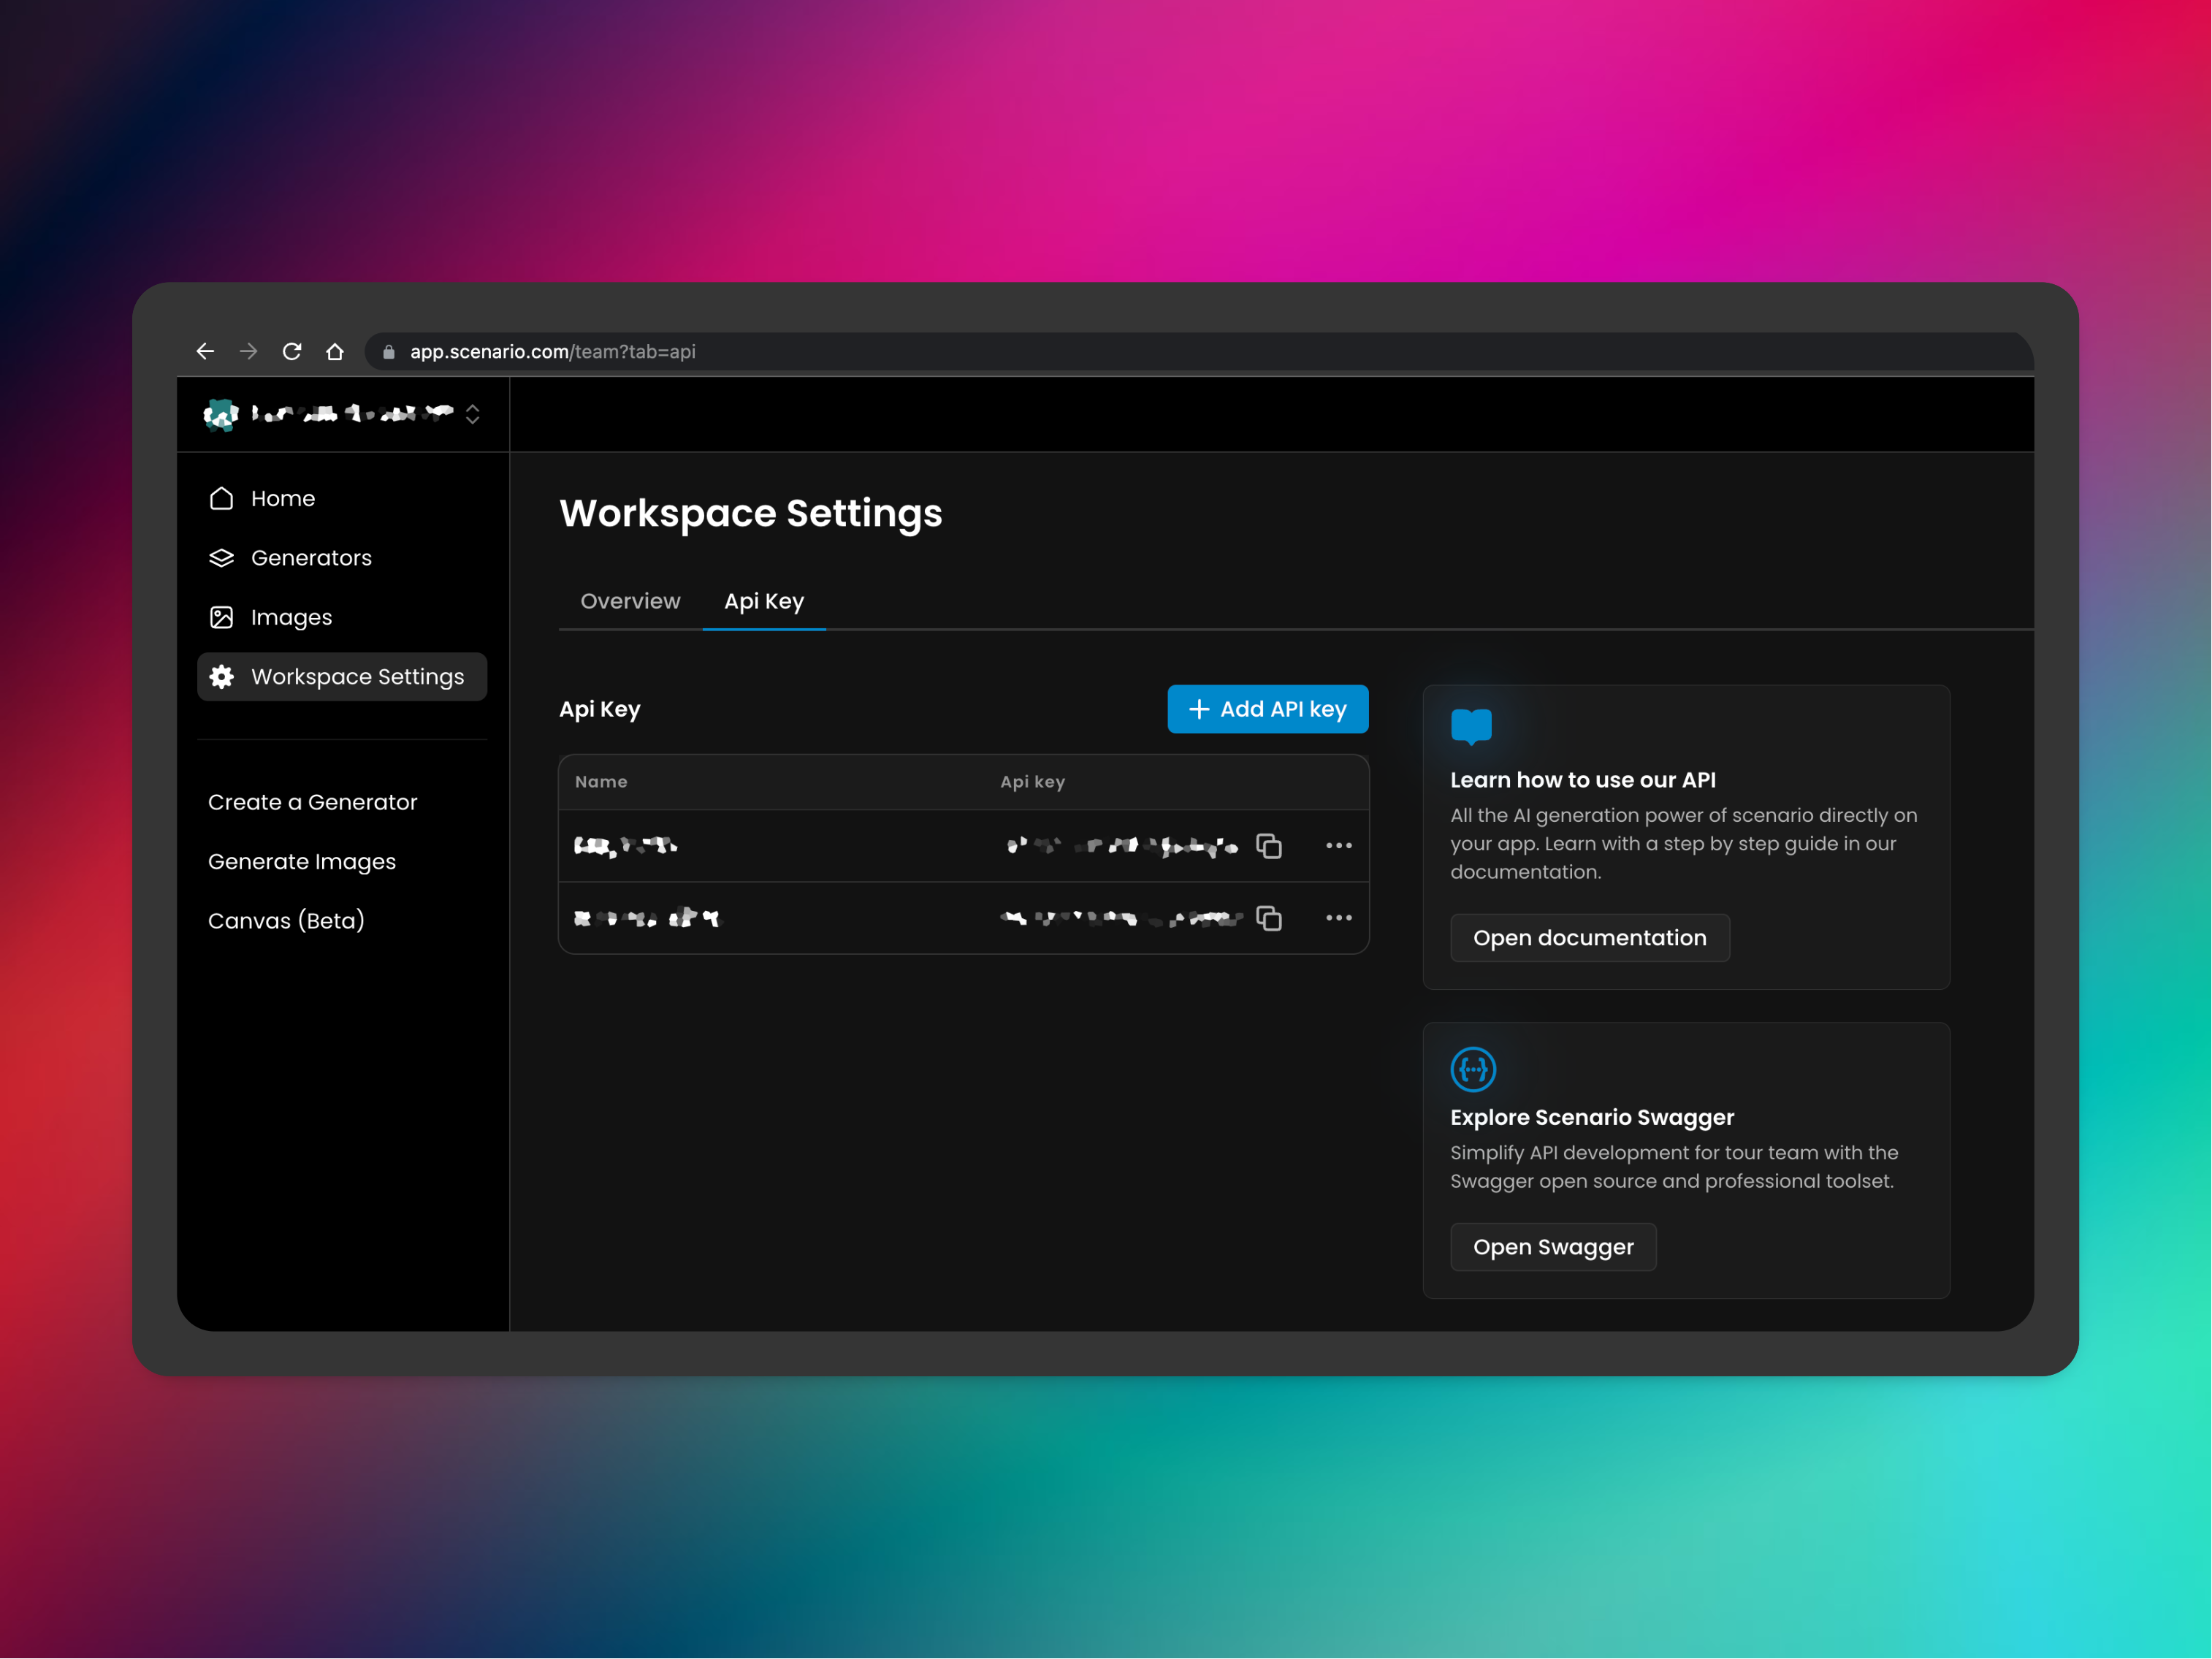
"Add API key"
- Follow instructions
Updated about 1 month ago
What’s Next
Authenticate!